
DIY Rey's Quarterstaff
The stars have aligned this year. The children have all decided they want to be Star Wars characters for Halloween. This was not an outcome that I actively sought, but I welcome it. I’m sure none of you are surprised.
Amelia wanted to be Rey and, of course, Rey needs her iconic quarterstaff. I went back and forth for quite a while about whether I wanted to make it myself but ultimately decided that it would be a fun creative challenge to DIY it. A lot of the materials we already had on hand:
- PVC pipe
- Black spray paint
- Duct tape
- Hot glue gun
Had to go out to the local Walmart to get the following additional items:
- D Ring fasteners ($2.48)
- Muslin fabric ($4.97) (This was more than we needed, but figured having extra wouldn’t hurt since we could potentially have use for it with other costumes)
- Metallic silver paint acrylic paint ($1.97)
- Metallic copper acrylic paint ($1.97)
- Craft foam sheets ($5.72)
I drew most of my inspiration from this blog post . My main goals were to create a staff that was:
- Light and easy to handle, since my daughter would be handling it
- Accurately followed the movie color scheme
- Reflected the scavenger vibe of Rey’s character
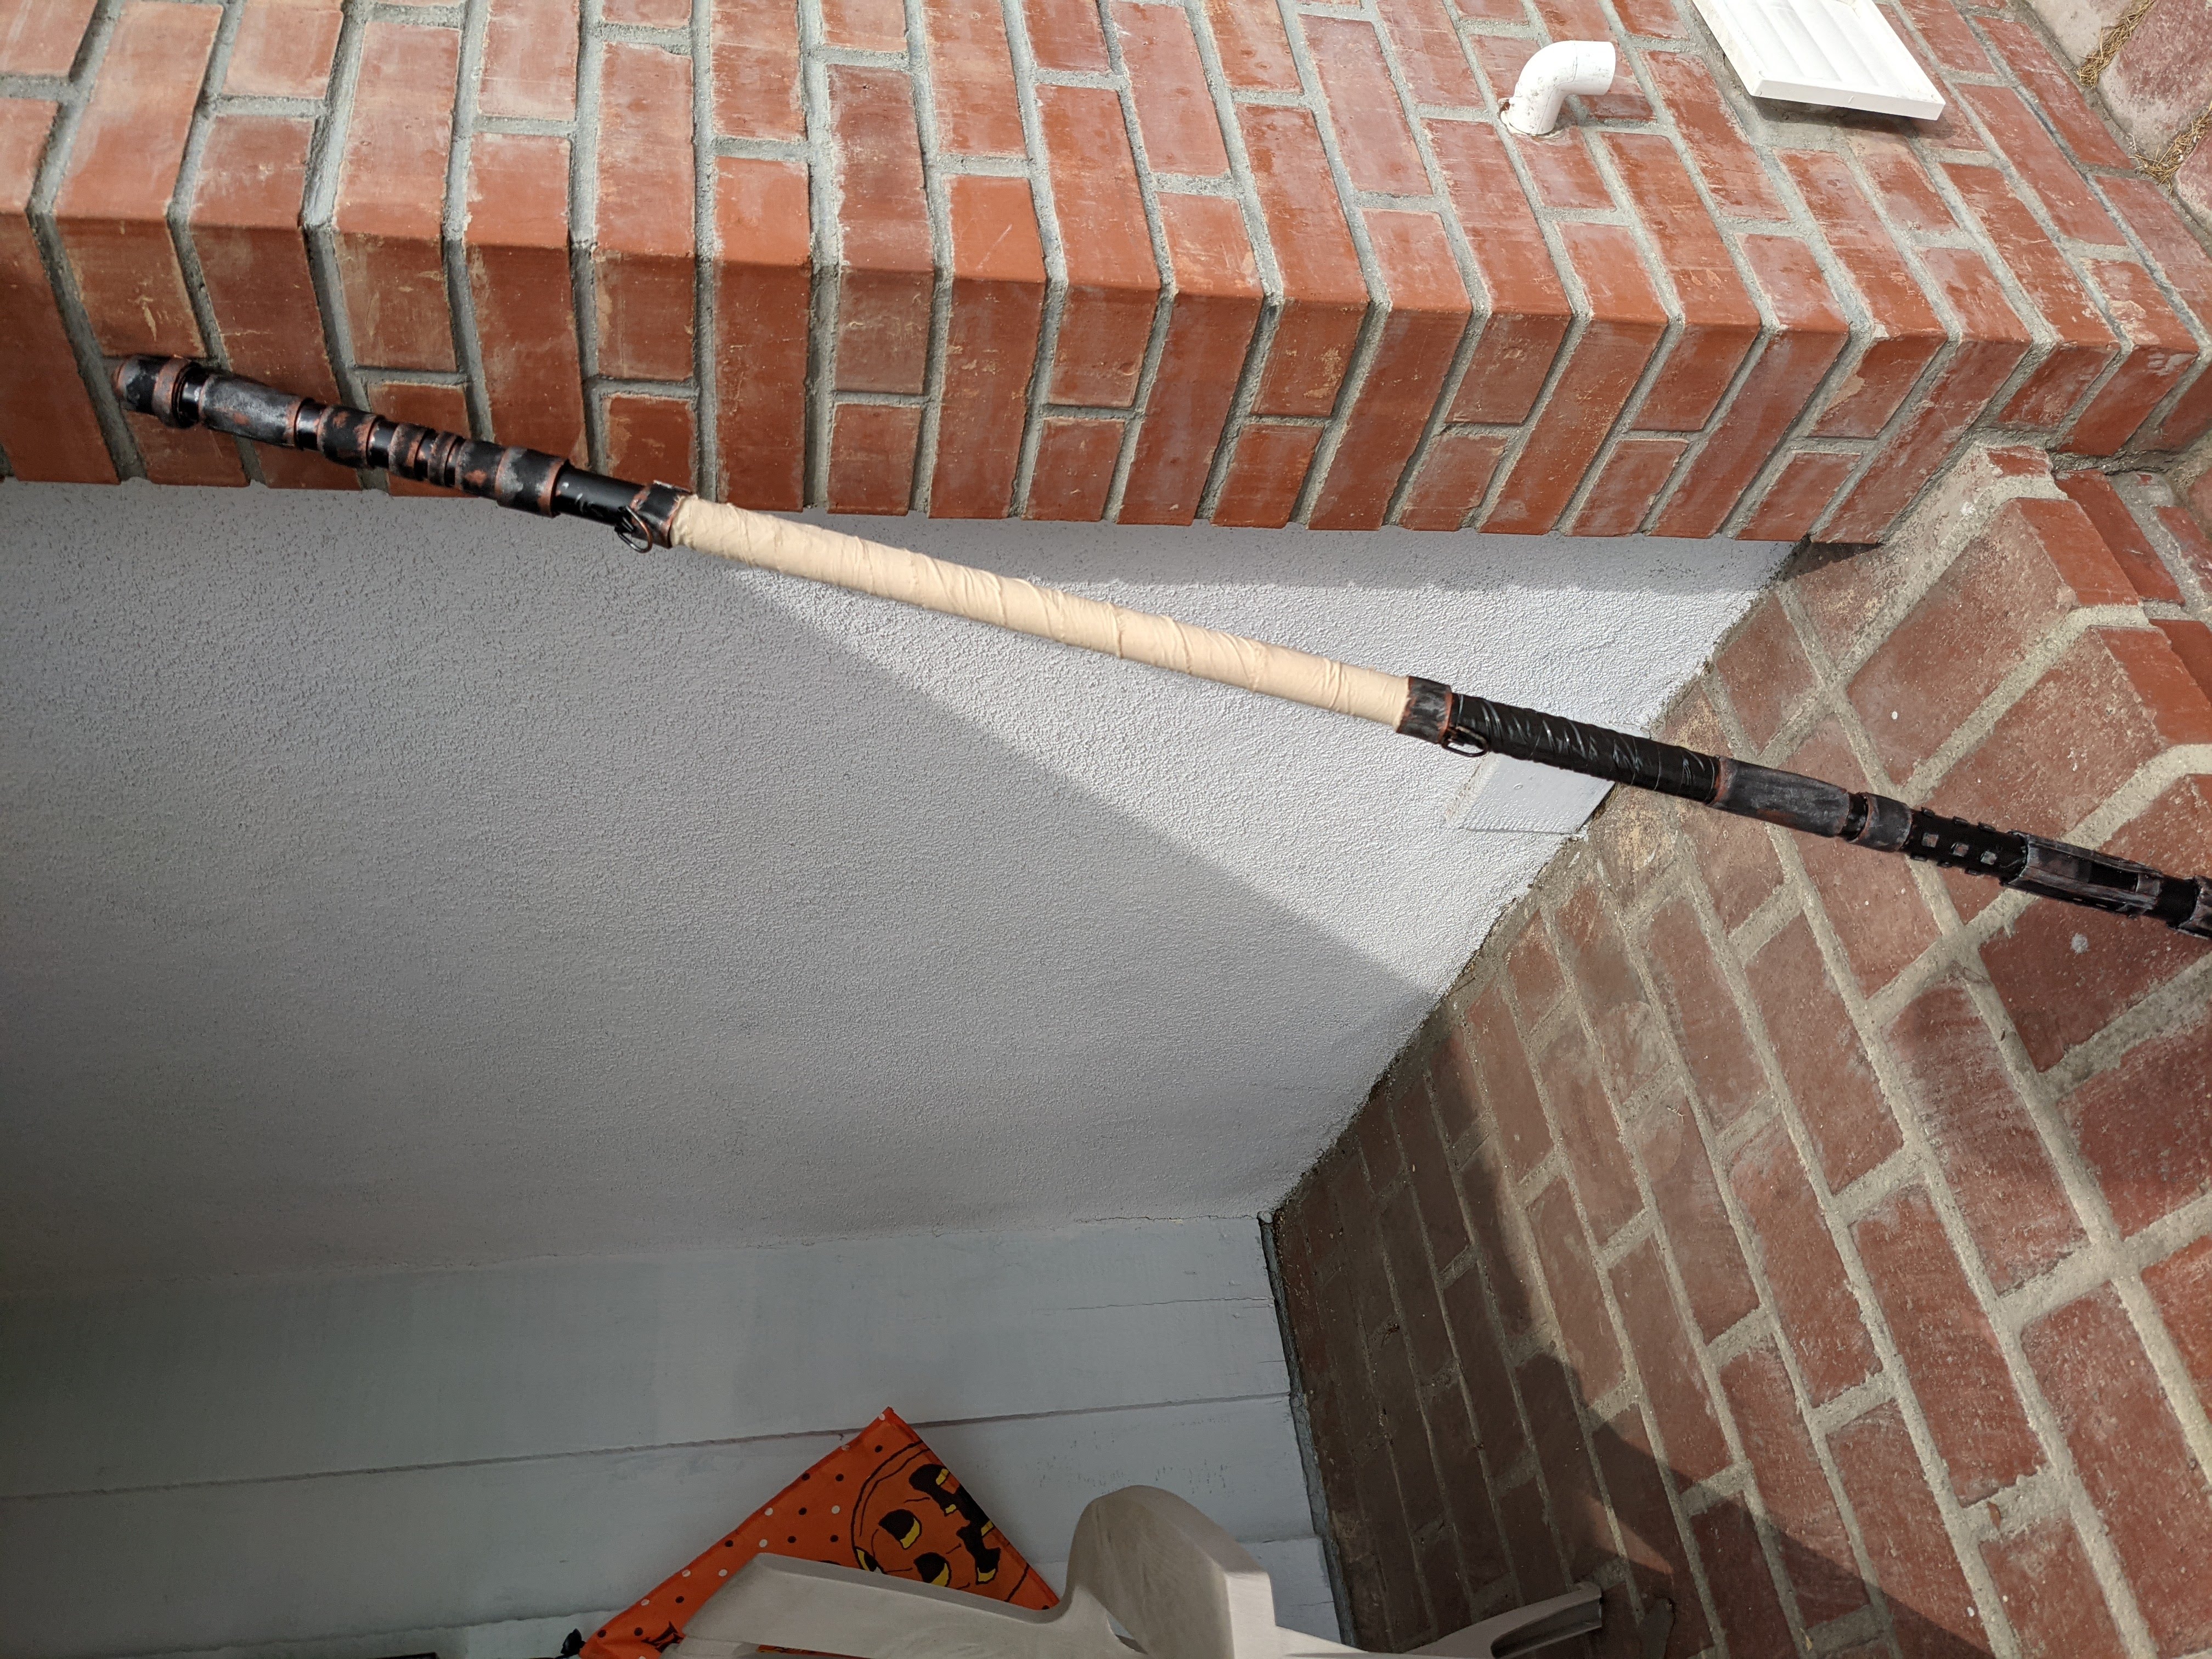
I thought about trying to do a more exacting replica of the contours and coloring of the staff from the movie, but decided against that. You can see the finished product:
Definitely not perfect, but still, not bad! If you’re curious, here’s a rough overview of the process I followed.
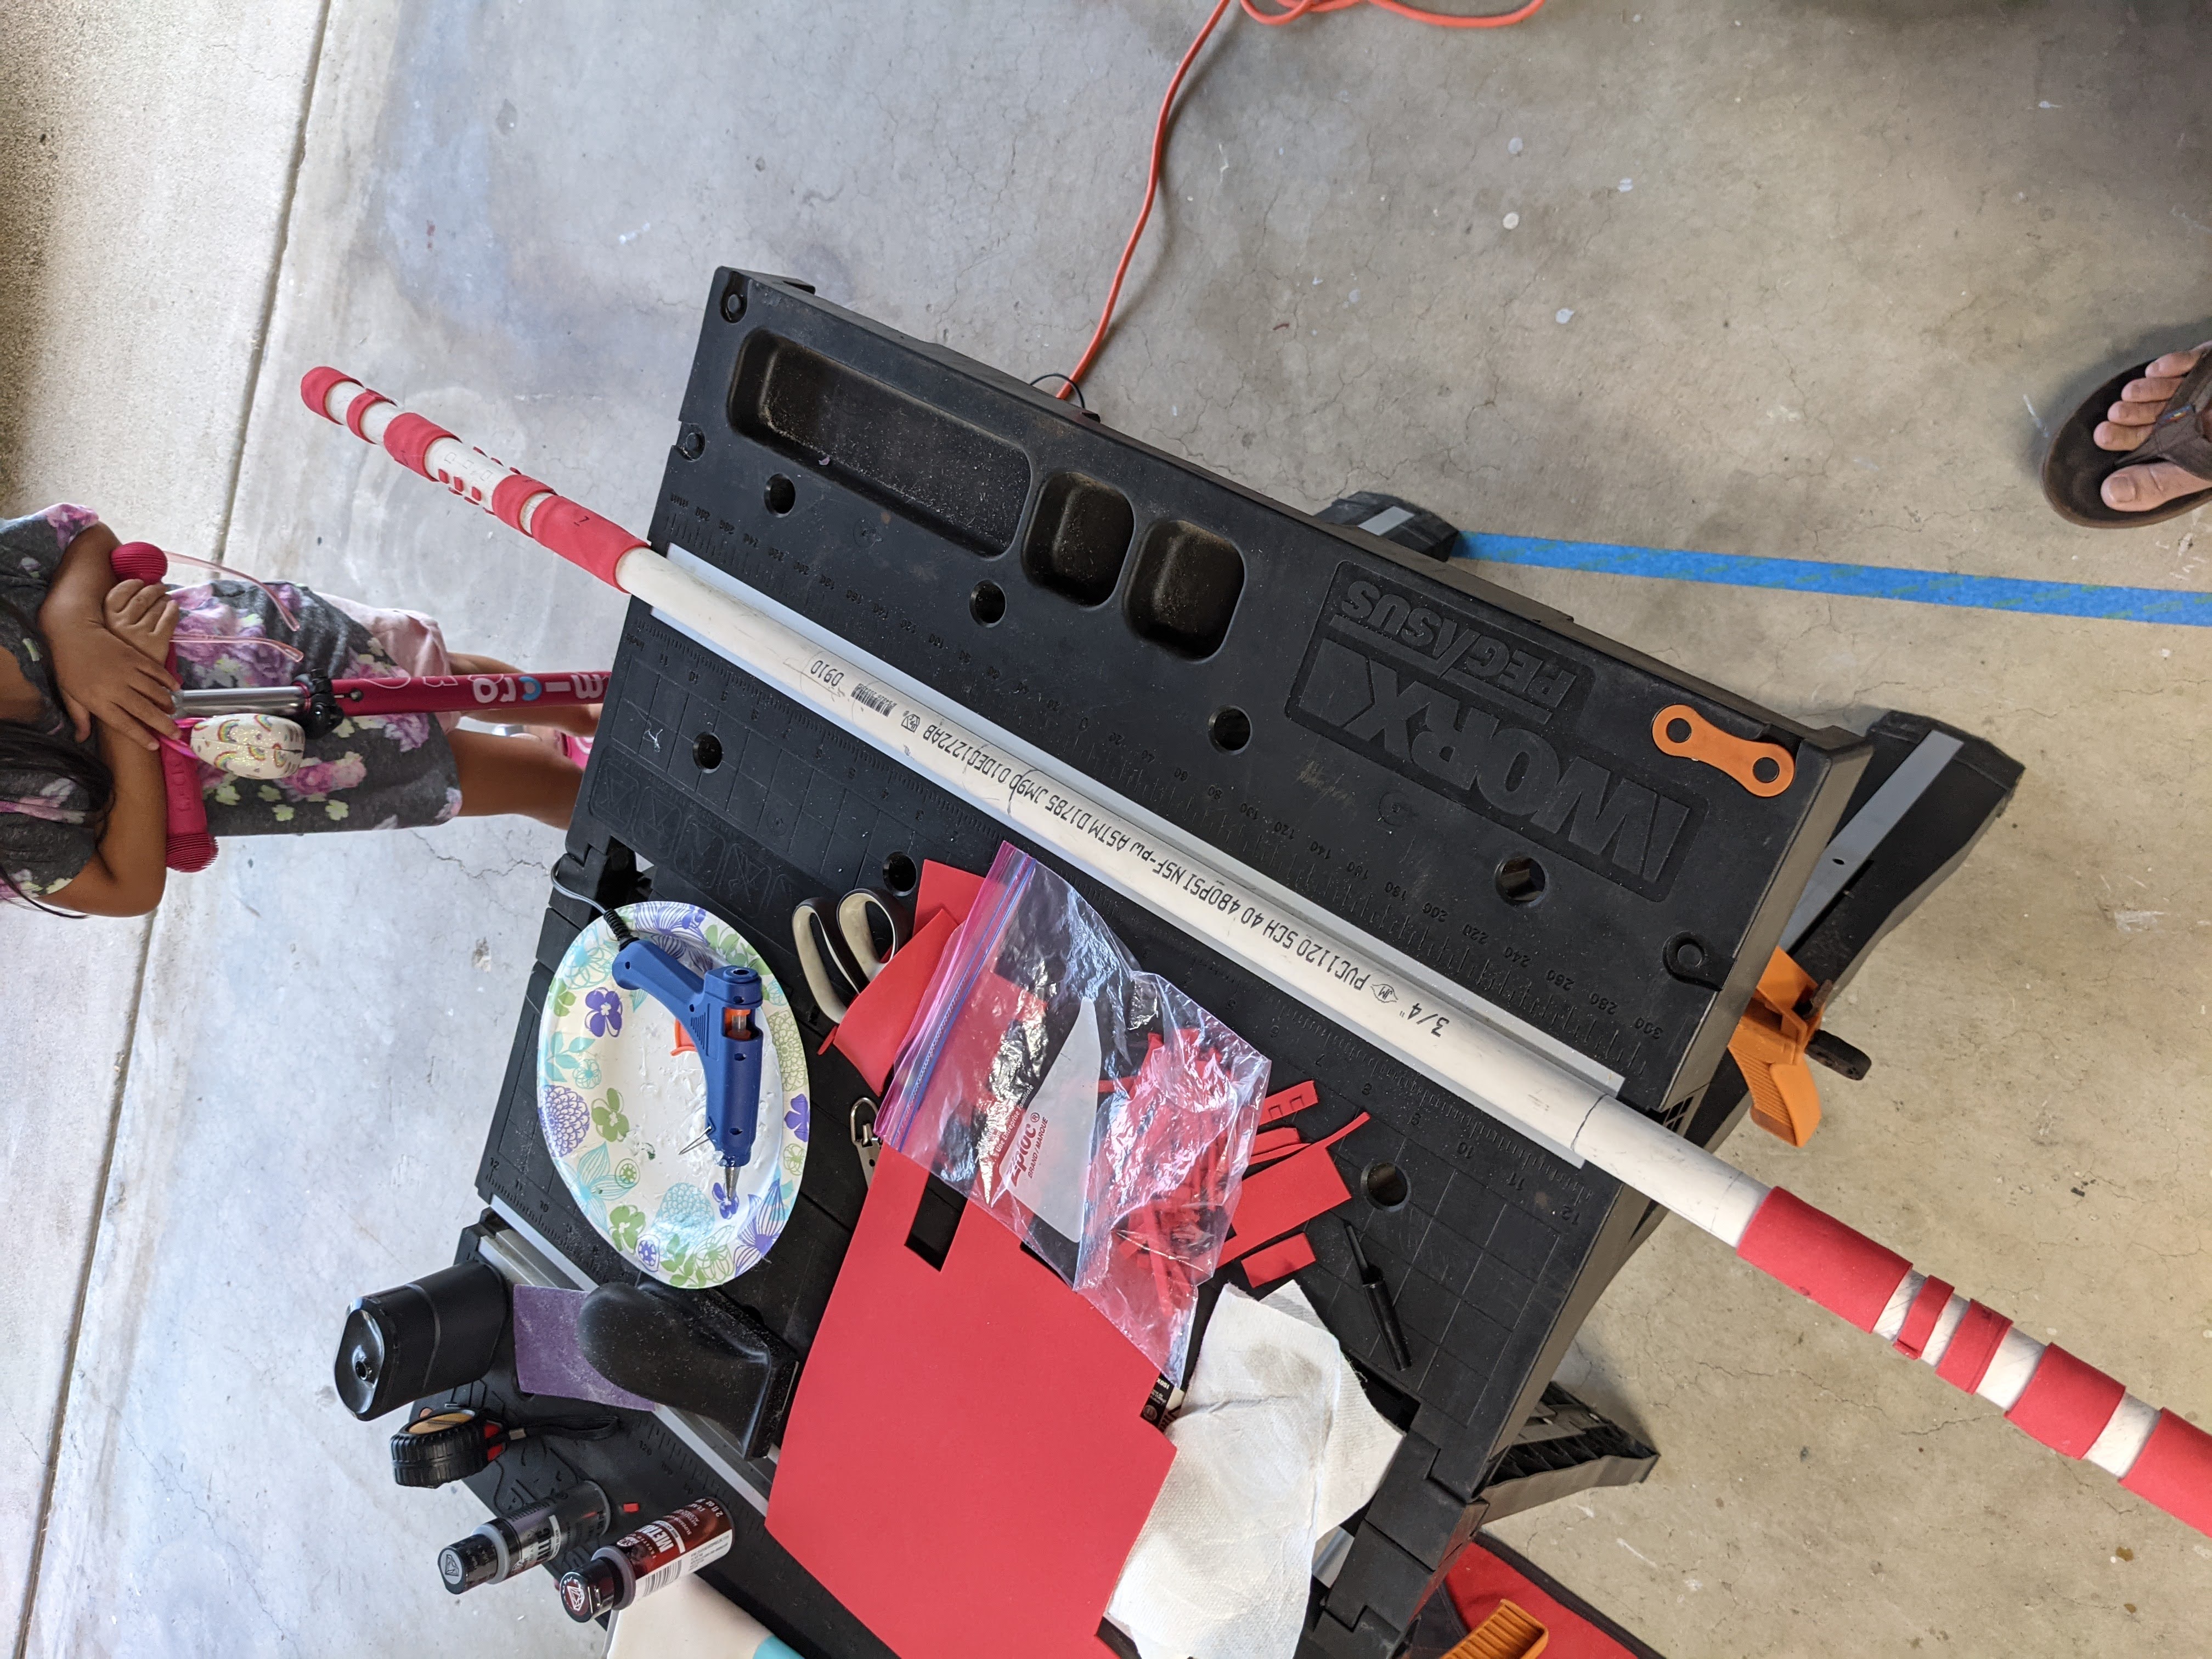
Planning
I studied some images of the staff and divided the PVC pipe up into four equal sections. I drew those lines directly on to the pipe since, obviously, the pipe is going to get pained over anyways. Once I made the sections, I began to sketch some of the features that I would be adding to each section of the pipe. I then began to measure and cut out the craft foam for each of those sections. I also ate some tacos for lunch that day - a key part of the process.

At this point, I sanded down the entire surface of the pipe with fine grained sand paper. I did this to help the glue and paint adhere better to the pipe.
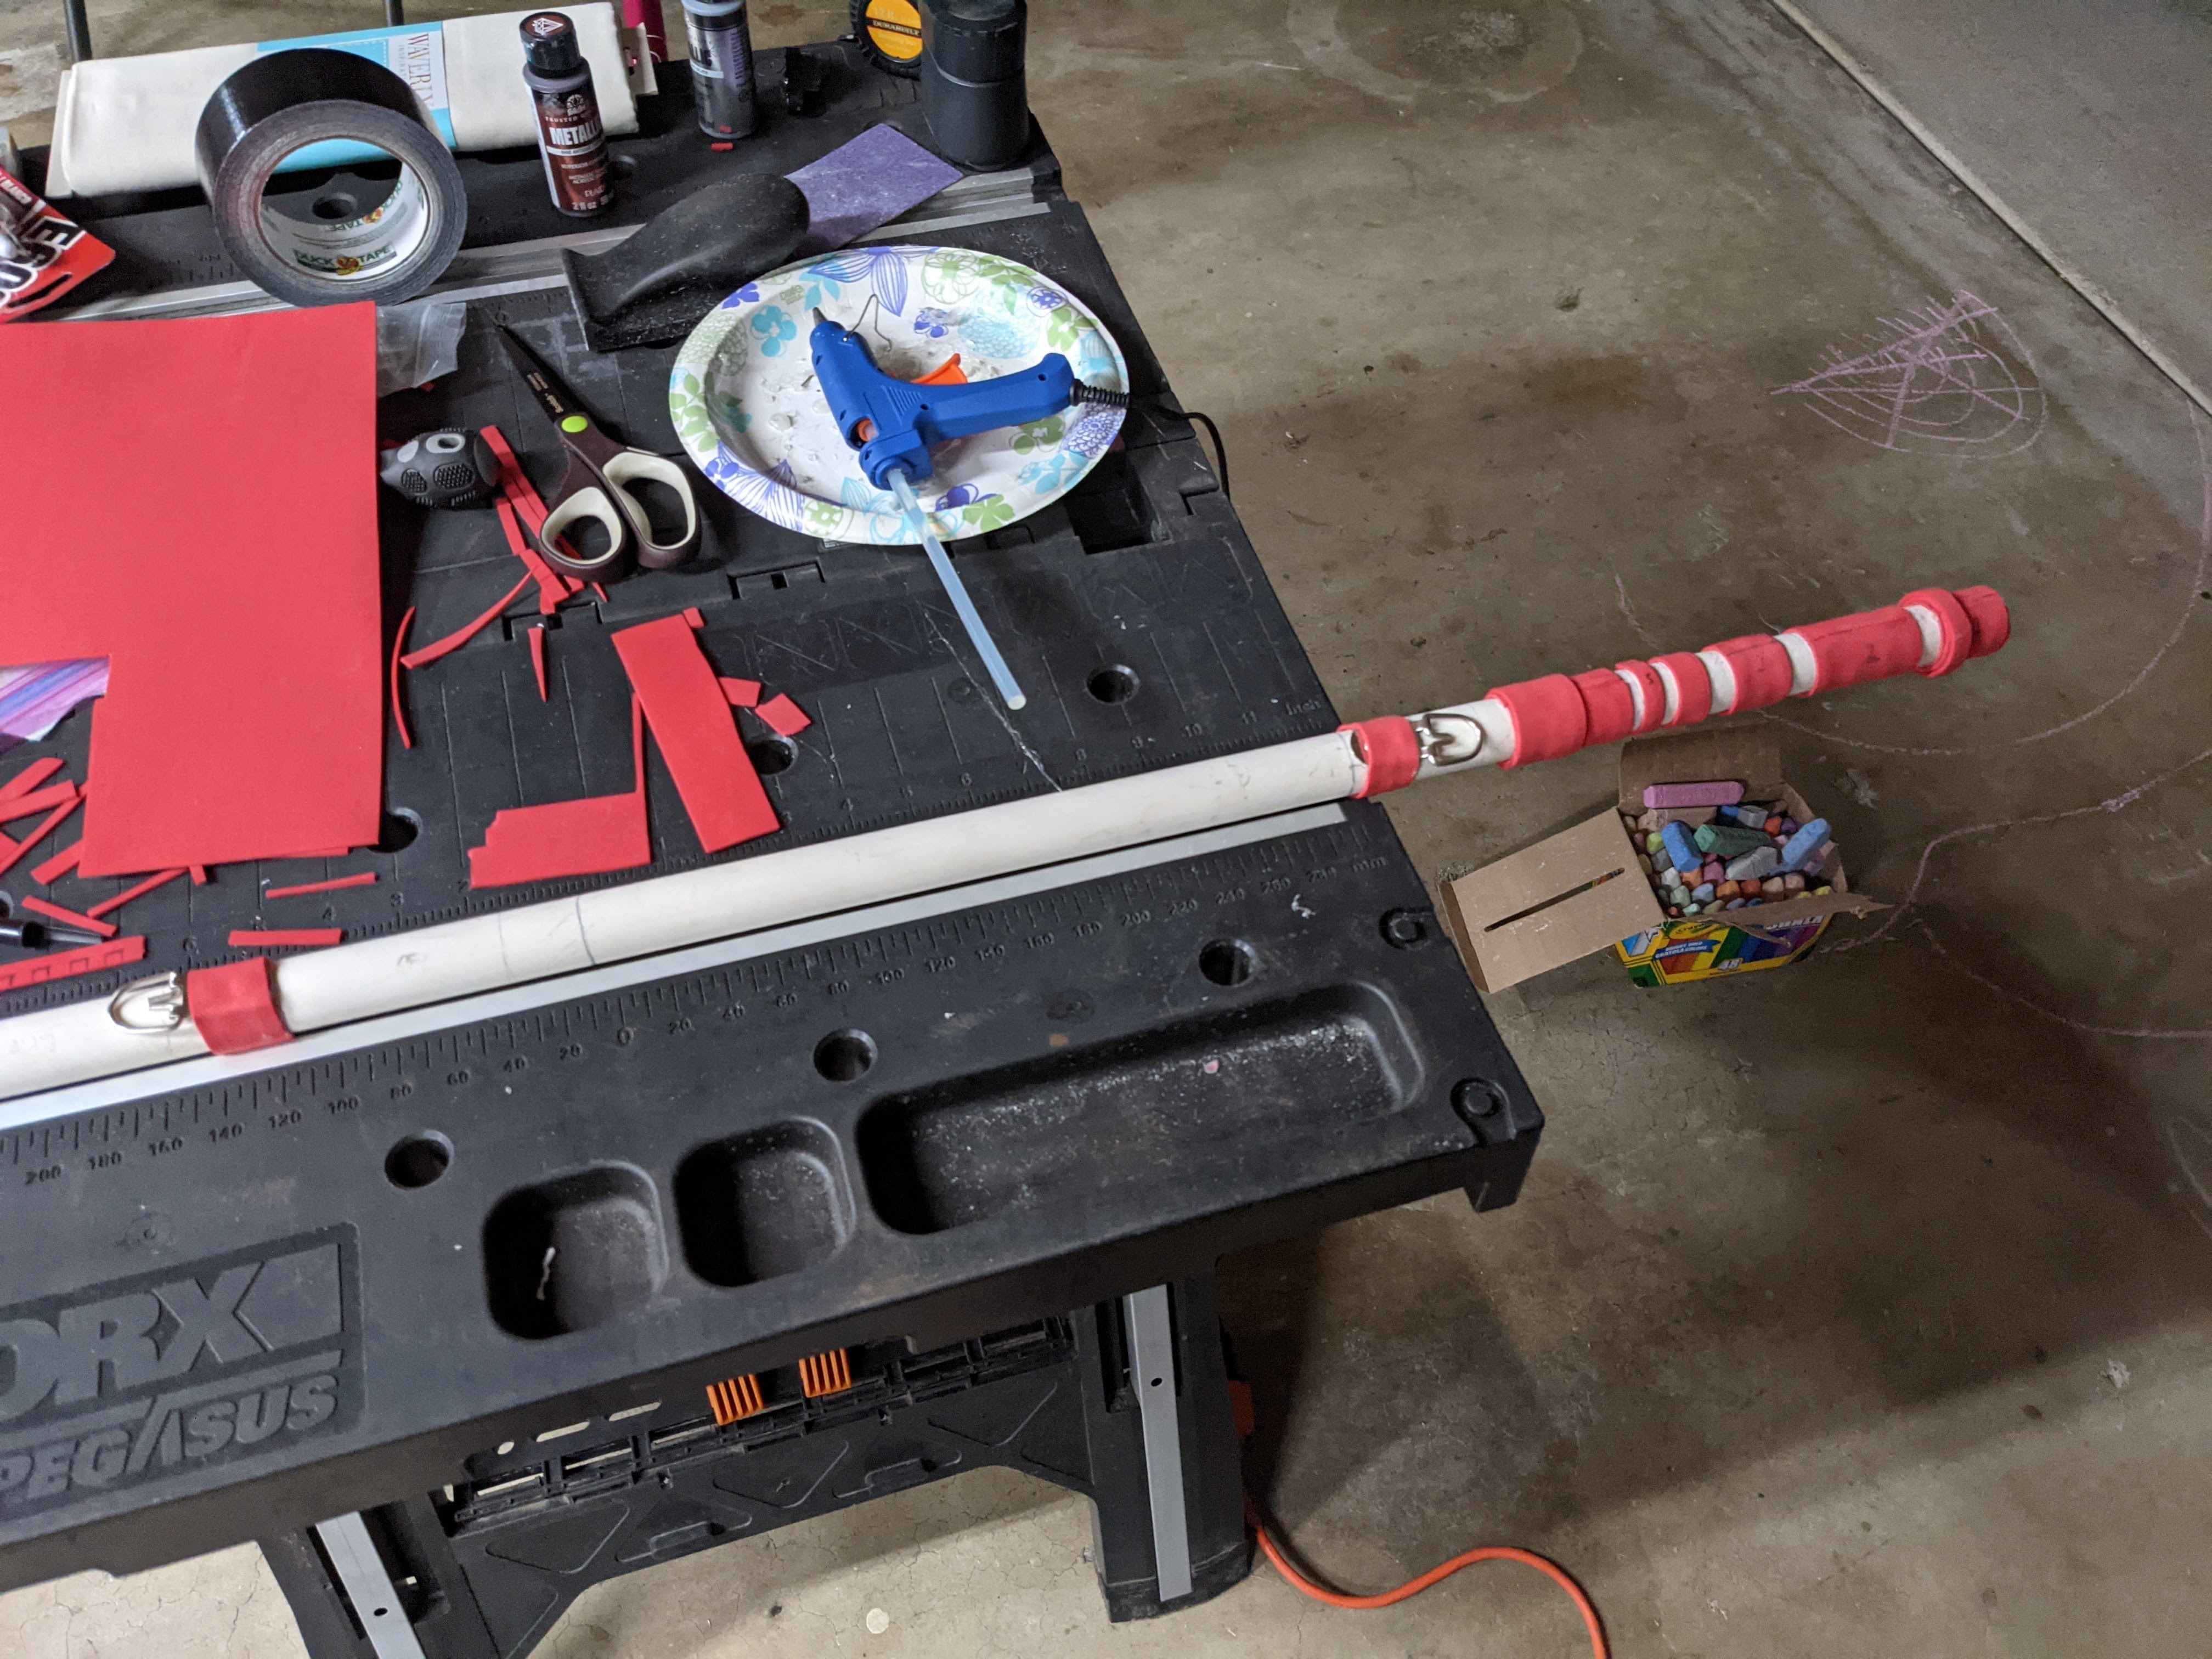
Attaching the Foam and Adding Contours
Once I had a plan of attack drawn onto the pipe, and all of the pieces of foam I needed cut out, I began to hot glue them all on. This was a fluid process though as sometimes I found that the pieces I cut out were to small (or too big) and needed to be adjusted on the fly.
Once I glued the base level of craft foam on, I drilled pilot holes for the D Ring fasteners and then screwed them.
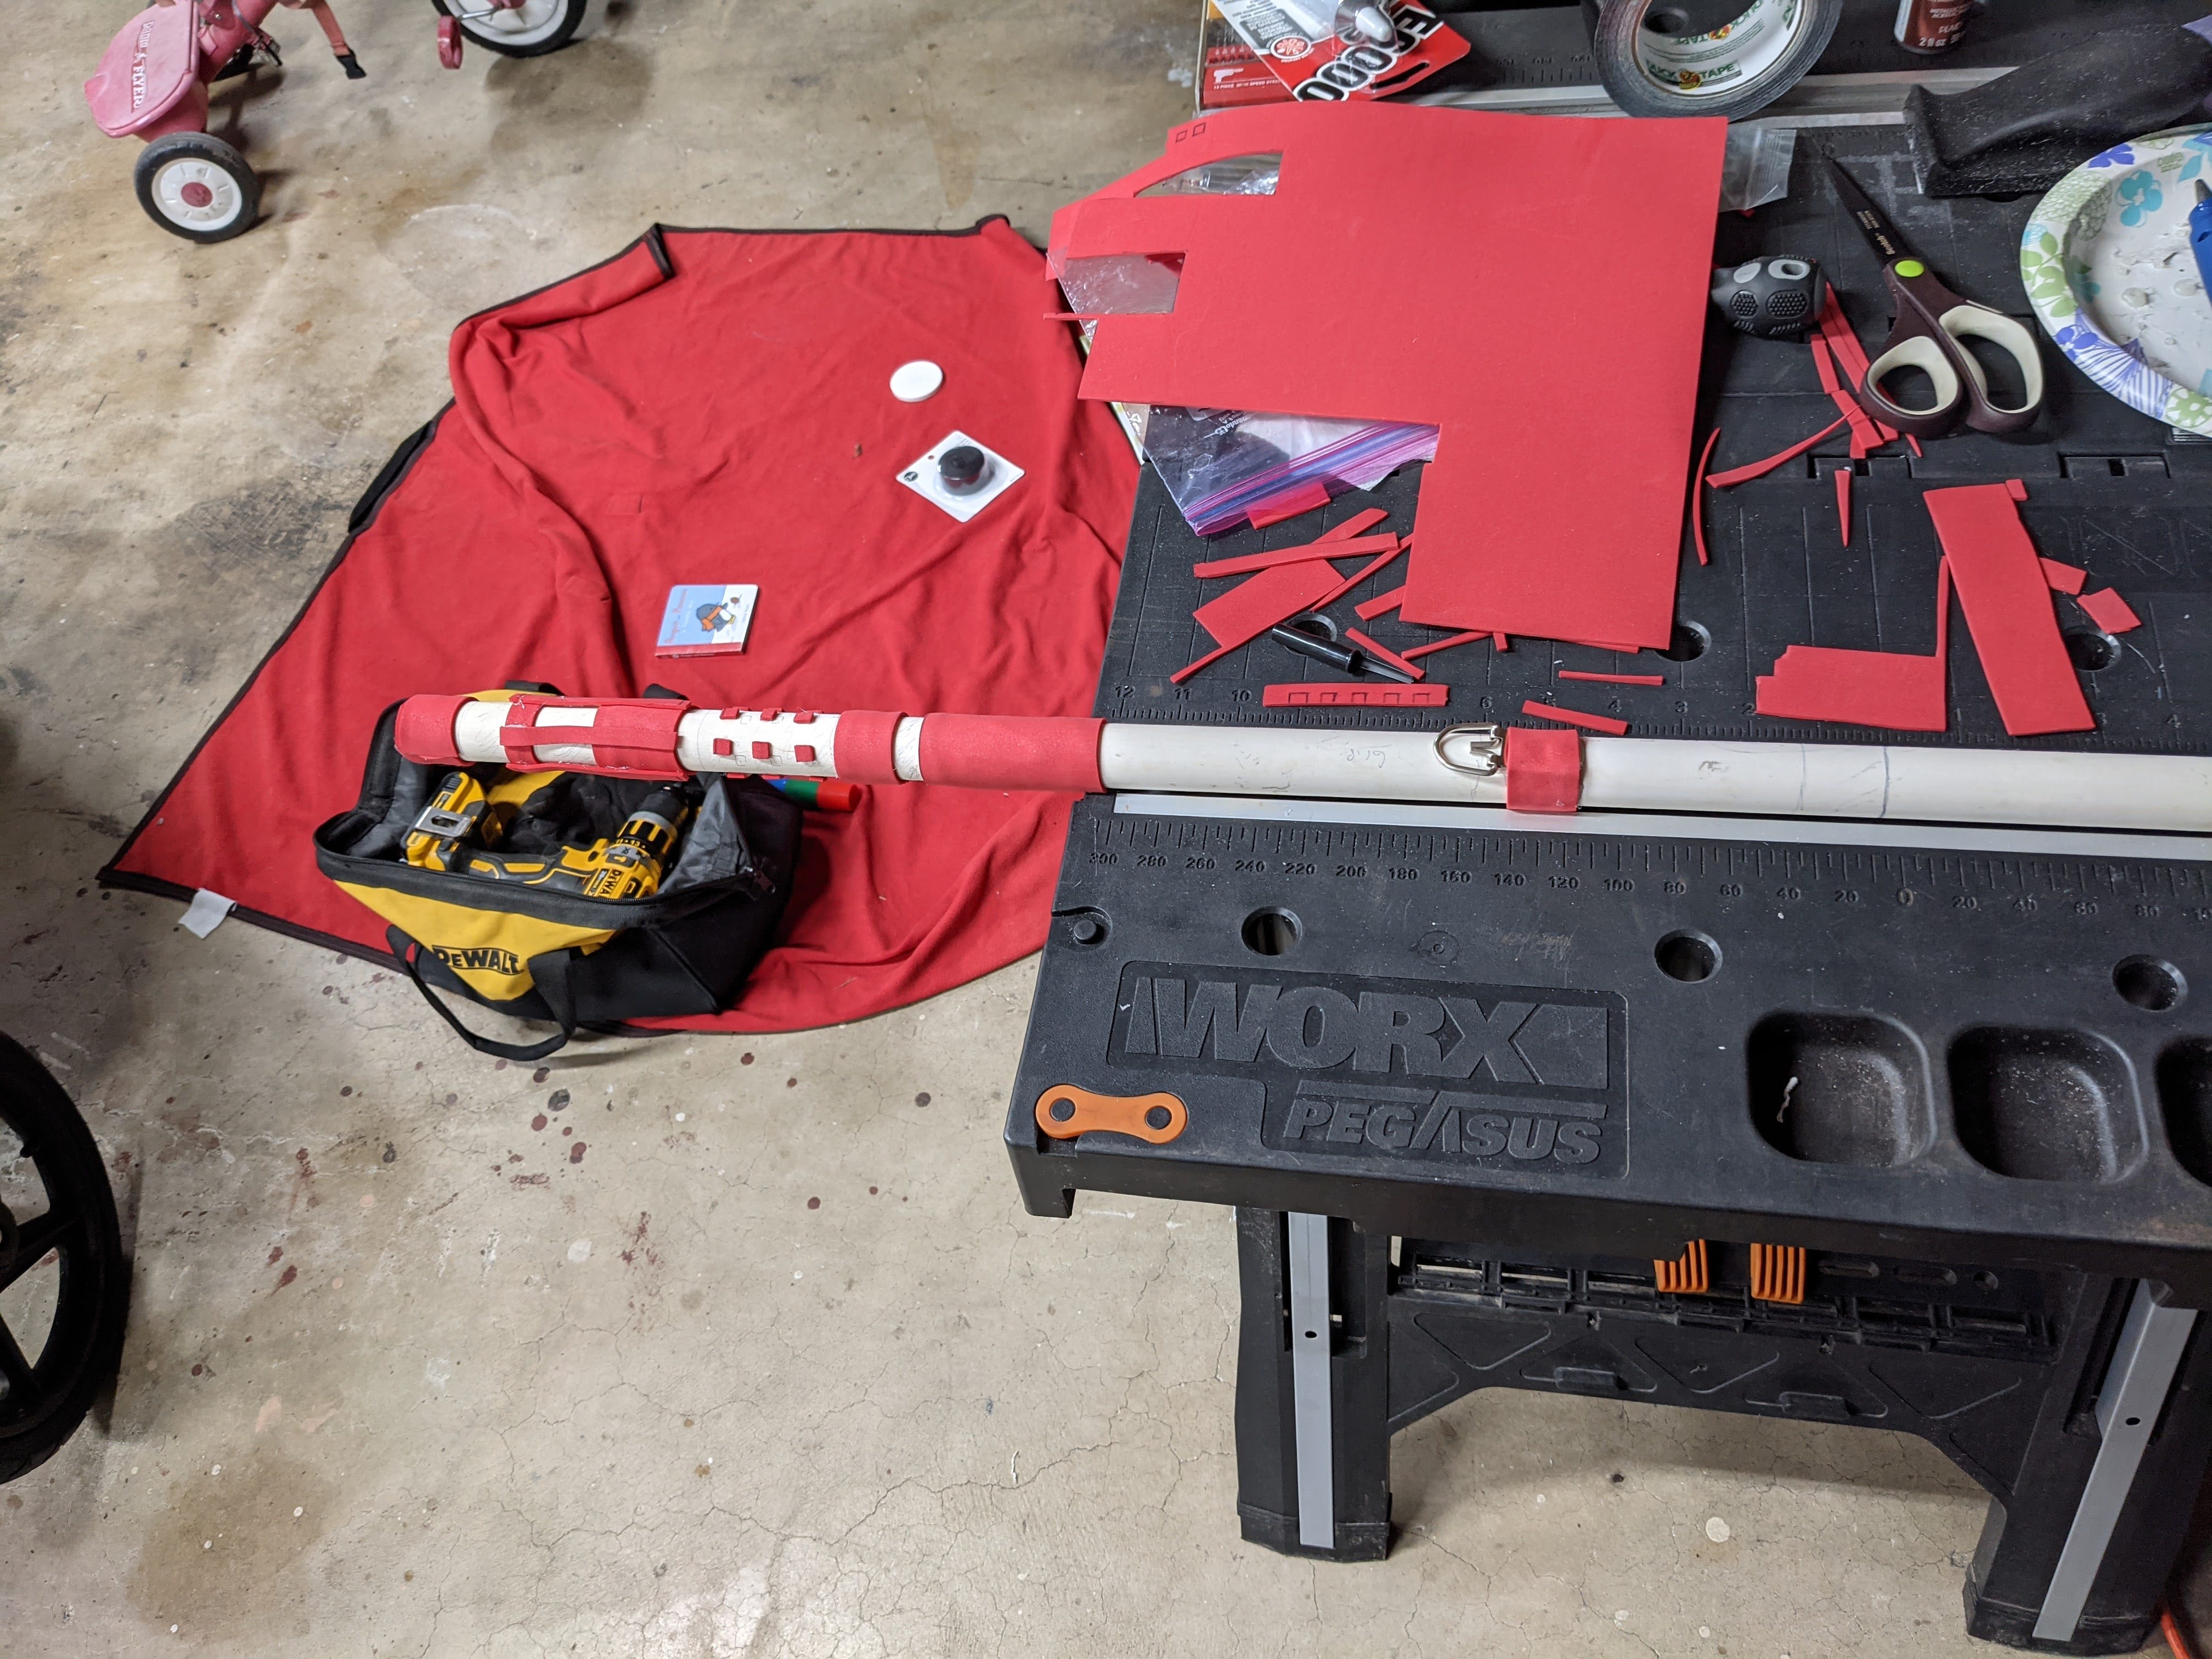
After this, I began to layer foam to add distinct textures to the staff to break up the visual monotony.
Once I was satisfied, I moved on to painting the staff.
Paint
I didn’t take too many pictures during this part. Sorry. Basically I spray painted the entire staff with a base satin black coat (this is the color I had on hand). There may have been a better option for base coat color, but I think it turned out well enough. Side note, I have very little painting experience, and this was my first attempt to try and produce this kind of effect.
After waiting 24 hours for the base coat to try, I moved on to opening up my silver and copper paints to try and weather the staff. I first started with the silver and sparingly brushed small amounts on to the parts of staff that I could imagine being exposed to the elements. Mostly did this by trial and error. It was also a lot of detailed work, but still ended up being very satisfying. I then repeated this process 30 minutes later with the copper paint, which I was hoping would give the appearance of a rustiness to the staff.
My painting skills were a bit sloppy – you can see there are some spots where I definitely slipped up and got paint on spots that shouldn’t need it – but overall I was pleased with the final result there.
Getting a Grip
In my design, there were two sections of the staff designed for where hands would grip it. The first and smaller portion, I wrapped with black duct tape that we had on hand. It feels much better to the touch than the spray painted PVC.
For the larger cloth grip part of the staff, I used the muslin cloth that I purchased. First I tore it into a few larger strips. Then I boiled a pot of tea. I did not drink any of the tea. 😃 The plan was to use the tea to weather our cloth strips a bit so they wouldn’t look quite so clean and new. Once the tea was thoroughly steeped, I put the cloth strips into the tea and let them soak in the tea for about an hour. I then squeezed the tea out and hung the cloth strips up to dry overnight. The following day, I wrapped the cloth strips around and adhered it to the pipe in several spots using hot glue. I think the weathering effect for the cloth worked out pretty well! Finally, used a scrap length of cloth that my wife had for the shoulder strap.
The Final Product
If you enjoyed reading this blog and are interested in receiving further updates to this blog via email, consider subscribing to the newsletter or following the RSS feed .